

Simple Outside Mount Roman Shade Tutorial
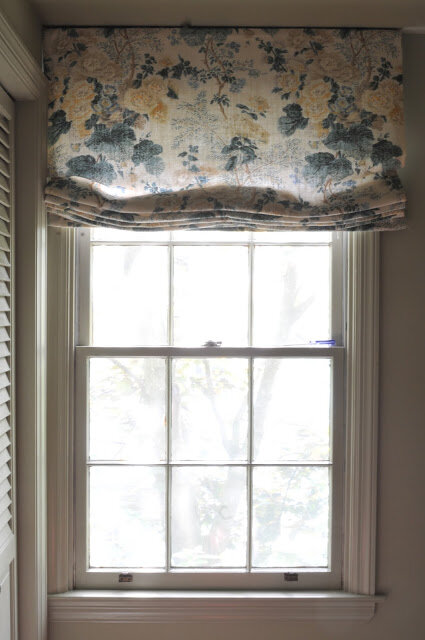 |
| Green paint is up. I love. And oops, purple screwdriver on window ;) |
I have a pretty modest budget for the office, so when the workroom quotes for roman shades came in, I was a bit stumped by the high cost of labor. I did a little research, found a plethora of online tutorials, inspected my girlfriend's shades and decided to attempt to sew my own. I am not an experienced seamstress at all. My skill set is just just beyond threading the machine and winding a bobbin, so when these turned out so beautiful, I knew I would want to share my process. If I can do it, you can too. I did make a test run shade that I hung in our powder room with some spare fabric before I cut into office shade fabric. I'm not totally crazy.
First, these shades are a bit of cross between a relaxed and flat roman. If I had used dowel rods at every pleat they would have the very tailored and structured look of a flat roman. I didn't want that in this space, but I also didn't want a completely relaxed and flouncy roman either. These are sort of in between, lots of stacked pleats like a flat but with a bit of the movement and casualness of a relaxed roman.
Supplies Needed:
3/8" dowel rods cut to size (one per shade)
shade fabric
lining fabric (I used white cotton muslin bought at Joann's)
roman shade string
sew on rings for roman shades (I used brass, but plastic would be fine too)
cord cleat
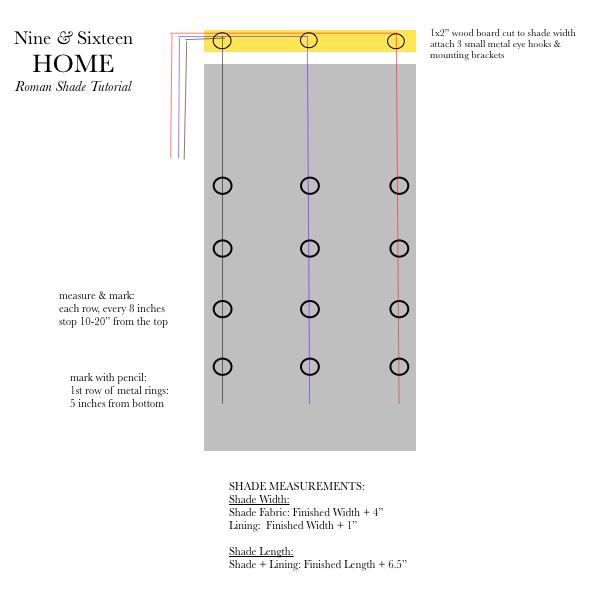
1x2" board cut to size of shade
3 small metal eye hooks
L brackets (the number you need will depend on the size of your shade. 1 used 2 per shade)
plaster or dry wall screws to mount the brackets
sewing machine
needle and thread
Step One: Measure Shade Size
Measure desired shade size, length and width. Have 1x2" board + dowel rod cut to size.
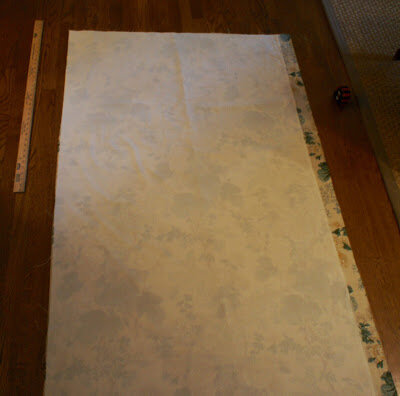
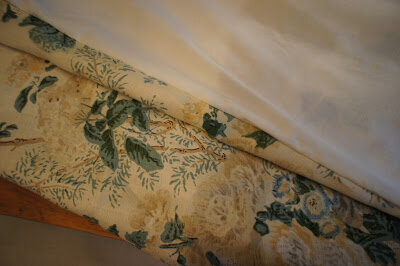
Step Two: Cut and Pin Fabric
Shade Fabric: Add 4 inches to width and 6.5 inches to length
Lining Fabric: Add 1/2 inch to width and 6.5 inches to length
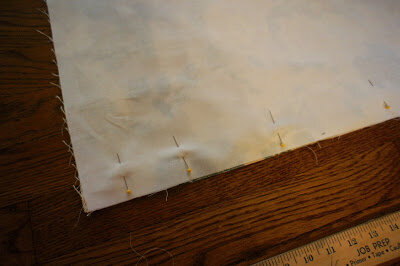
Place right sides of fabric facing each other. Line up edge of lining fabric with edge of shade fabric and pin on one side.
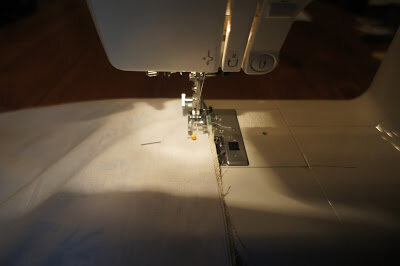
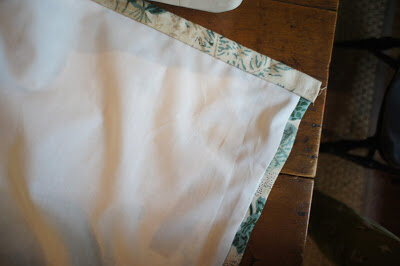
Step Three: Sew In Lining
Sew a 1/4 inch hem along the pinned side of the fabric. Remove from machine and pull the lining across to the non-hemmed side of the shade fabric and pin. Sew a 1/4 inch hem on the other side. Turn fabric right side out.
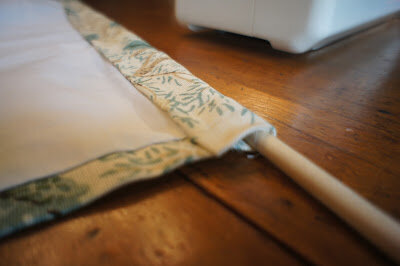
Step 4: Press and Sew Top and Bottom Hem
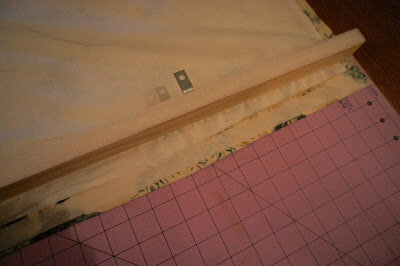
Iron the shade. Double check that it is the correct width for the finished shade. Then fold top of shade over twice, an inch each time, and press. Sew top hem. For the bottom hem you are going to create a pocket for the only dowel rod you will use for this shade. Sew a 1/2" hem and then fold over 1.5" and sew another leaving an opening for the rod.
 |
| small 1/2" seam, then fold again and sew in pocket |
That's it for the sewing machine!
Step 5: Measure, Mark and Sew Rings
I used a yard stick and a pencil. You will make three columns of rings on the back of the shade.
Spacing: Place pleats 8-12 inches apart. I did mine 8 inches.
Starting Point: Take your desired spacing and divide by 2, then add one inch. This is your where your first row of rings will be. For example, my pleat spacing is 8 inches, so my first row of rings was placed 5 inches from the bottom of my shade. (8 divided by 2 plus 1 = 5). Hand sew the rings in place. I folded the shade in half to find my middle and then marked it lightly with a pencil so my center column of rings would be straight. Keep measuring up 8 inches from the last row to sew your next row. I stopped 20 inches from the top of the shade.
This was the step I dreaded the most and it wasn't that bad. I sewed each ring about 5-6 times and then tied in about 3-4 knots. Each shade took about 20-30 minutes to measure + sew on the rings.
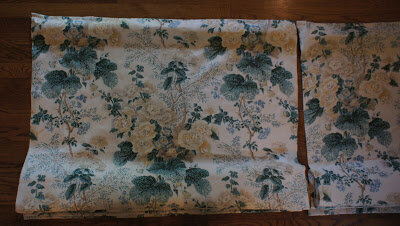 |
| I laid the shades side by side to get a sense of how finished shade would look. You can see here how the fabric repeat that is showing on each shade differs. I love this fabric so much and since it will be in the up position most of the time, I like being able to see the two different views. If I wanted them identical I would have needed more yardage. |
 |
| Should have ironed a bit better. |
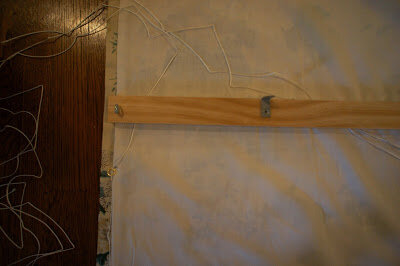
Step 6: Screw Eye Hooks to Board + Attach Mounting Hardware
I lined up the board with the shade and marked where eye hooks should go. I pre-drilled holes and then screwed them in. Attach L brackets, pre-drill holes and them screw in.

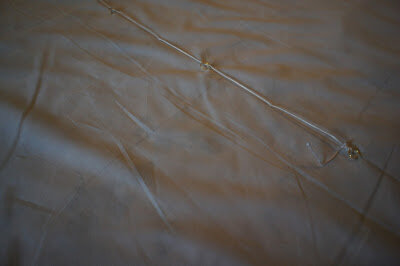
Step 7: Add String
See diagram for how the string flows through the hooks. The string farthest away from where you will pull and lower will be the longest and go through all three hooks on the board, the middle string will go through two and the side where you will lift and lower, only one. Attach the string to the bottom ring with a few knots and then thread it up through the ones above.
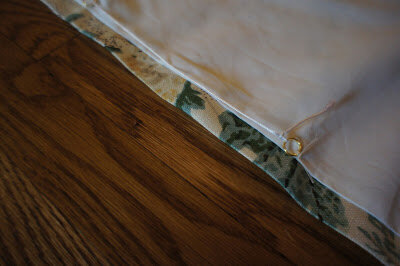
Step 8: Attach Fabric to Board
I used velcro instead of staples. That way you can easily adjust the shade position if you need to. My shade weight was very light with a linen fabric and a muslin lining. If you have a heavier shade, you might prefer staples. (*note: I made my shades 1 inch wider than my boards for just the slightest fabric overhang. This isn't necessary, but you see in in the photos so I wanted to mention it*)
 |
| note here where I placed the velcro on the board and the fabric |
Step 9: Hang Up Your Shade + Give it a Test Run
Once up, insert the dowel rod in the bottom pocket and slowly raise your shade, helping the pleats along as needed. Add the cord cleat to the wall and wrap three strings around it to secure the shade in place. Marvel at all the money you just saved. :)
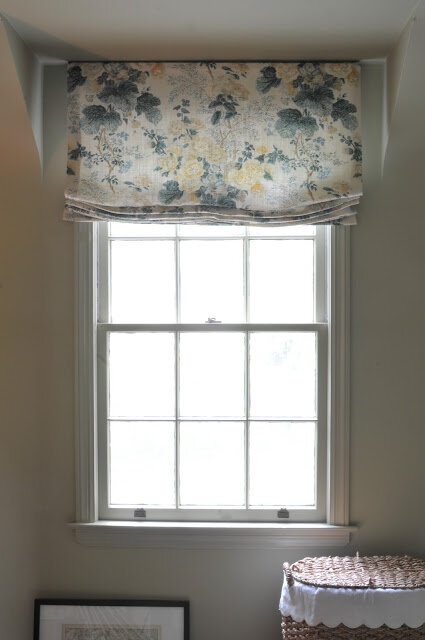 |
| The desk will go right in front of this window. Not sure why I didn't place it here before, but as soon as I did it made such a big difference in the room.
**Please let me know if you have questions. Tutorials aren't really my expertise, I find it difficult to stop and take proper pictures when I get into the flow of a project. I also did all my sewing at night or early in the morning over a rainy weekend so the light was non existent, hopefully it all still makes sense. **
|